
One minute of raw 8K footage can consume hundreds of gigabytes of space, and even seasoned creators routinely underestimate how fast a single project can drain a drive. High-resolution video is not just a technical challenge; it is a financial one. Every missed optimization, whether a wrong codec choice or an unplanned hardware purchase, compounds into real money lost and real deadlines missed. This guide walks you through the exact strategies you need: how to calculate your true storage needs, which codecs save the most space, how to pick the right hardware, and how to build workflows that keep costs under control without sacrificing a single frame of quality.
Table of Contents
- Understanding high-resolution video file sizes
- Choosing compression codecs for efficient storage
- Selecting the right storage hardware for your workflow
- Building efficient workflows and managing costs
- Perspective: What most creators get wrong about video storage
- Plan your next step with smarter storage tools
- Frequently asked questions
Key Takeaways
| Point | Details |
|---|---|
| Codec choice drives cost | Using HEVC or AV1 can cut high-res video storage by up to 50% compared to older codecs. |
| Hardware must match workflow | SSDs best for editing speed, while HDDs offer cost-effective long-term archives. |
| Efficient workflows save time | Automation, RAID, and smart archiving reduce headaches and storage expenses. |
| Testing prevents surprises | Always verify actual transfer speeds and bottlenecks, not just product specs. |
Understanding high-resolution video file sizes
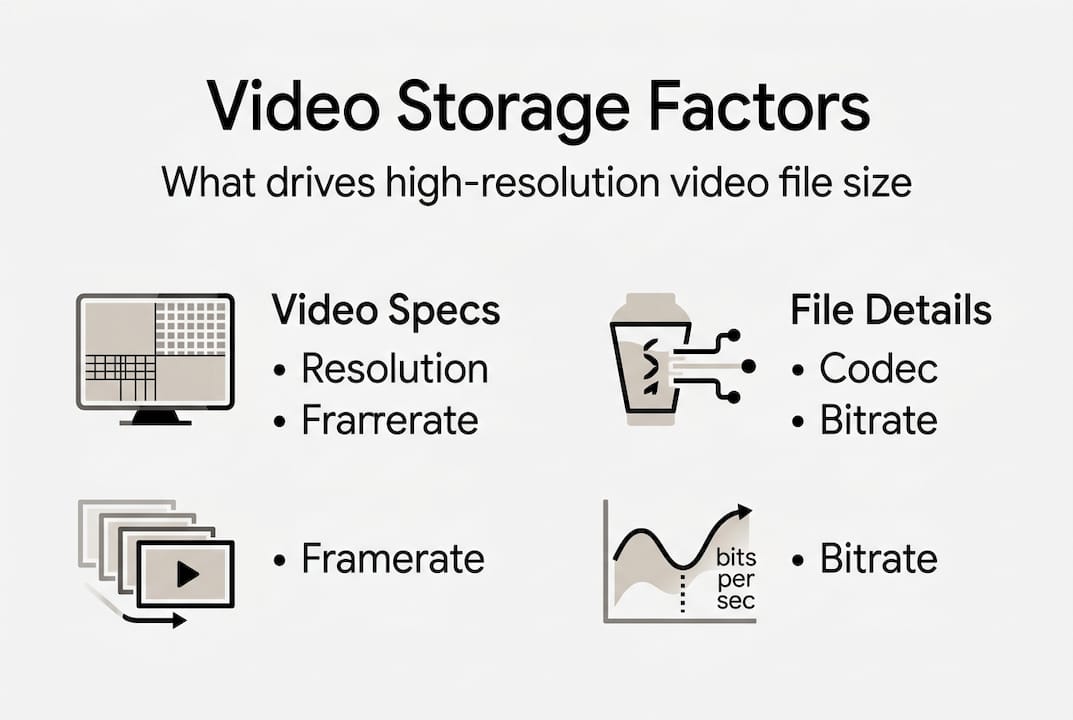
Before you can fix a storage problem, you need to understand what is actually creating it. File size is not just about resolution. It is a product of four variables working together: resolution, codec, bitrate (measured in megabits per second, or Mbps), and duration. Change any one of them and your storage math changes completely.
Here is a quick breakdown of typical bitrates by format:
| Format | Codec | Typical bitrate |
|---|---|---|
| 1080p H.264 | H.264 | 8 to 16 Mbps |
| 4K H.264 | H.264 | 20 to 50 Mbps |
| 4K H.265 | H.265/HEVC | 10 to 25 Mbps |
| 4K ProRes 422 HQ | ProRes | ~707 Mbps |
| 8K RAW | RAW | 1,000+ Mbps |
To estimate your actual storage needs, use this formula: Total Storage (TB) = (Total_Mbps × 3600 × 24 × Retention_Days) / (8 × 1024 × 1024). Plug in your camera's bitrate and your project length, and you will get a realistic number to plan around. This storage planning formula is widely used in professional video management systems.
Framerate also matters more than most people realize. Shooting 4K at 120fps for slow-motion work roughly doubles your storage compared to 60fps, even at the same bitrate setting. That is a detail that catches a lot of creators off guard mid-project.
Storage media speed is the other side of this equation. ProRes 422 HQ at 4K 30fps runs at roughly 88 MB/s, which means even a capable NAS drive needs sustained throughput above 250 MB/s to handle two or three parallel streams without bottlenecks. Knowing this upfront helps you avoid buying hardware that looks sufficient on paper but fails under real workloads.
For a deeper look at organizing your media library once you understand the numbers, check out these efficient 4K storage strategies and video file management tips built for working creators.
Stat to remember: A single hour of 4K ProRes 422 HQ footage can exceed 300 GB. Plan accordingly.
Choosing compression codecs for efficient storage
Your codec choice is the single biggest lever you have for controlling storage costs. Two projects with identical footage can differ by 50% or more in file size simply because of the codec used during export or recording.
Here is how the major codecs stack up:
| Codec | Relative file size | Best use case | Compatibility |
|---|---|---|---|
| H.264 | Baseline | Delivery, web | Universal |
| H.265/HEVC | 30 to 50% smaller | Archive, delivery | Broad, growing |
| AV1 | ~30% smaller than H.265 | Streaming, web | Limited hardware |
| ProRes 422 | Very large | Active editing | Apple ecosystem |
| RAW | Largest | High-end production | Specialized |
H.265 reduces storage needs by 30 to 50% compared to H.264 at equivalent visual quality. For a creator managing terabytes of 4K footage, that is not a minor improvement. It is the difference between buying one drive and buying two.
AV1 pushes even further. AV1 encodes 30% better than H.265 in terms of file size, but the encoding process is significantly slower and hardware support is still catching up. It is a great choice for final delivery to streaming platforms, but not practical for day-to-day editing workflows yet.
ProRes and RAW formats are the opposite end of the spectrum. They preserve maximum quality for editing but generate enormous files. Use them during production and editing, then transcode to HEVC for archiving.

Pro Tip: When using FFmpeg for batch compression, a CRF value of 23 to 28 with the slow preset gives you the best balance of quality and file size for H.264 and H.265 exports.
For a full breakdown of why HEVC is the go-to format for HEVC for 4K and HDR workflows, or if you need HDR compression tips for color-critical projects, those resources go deeper on the technical side. You can also explore advanced compression strategies if you are managing large-scale media libraries.
Selecting the right storage hardware for your workflow
Codec strategy sets your file sizes. Hardware strategy determines whether your workflow actually runs smoothly. The key is matching the right storage type to the right job, not buying the fastest or biggest option across the board.
Here is how to think about it:
- NVMe SSD: Best for active editing of RAW or ProRes footage. Fast random read/write speeds prevent dropped frames and lag during scrubbing.
- SATA SSD: Good for active projects using compressed formats like H.265. Lower cost per GB than NVMe with still-solid performance.
- HDD: Ideal for archiving finished projects or storing compressed footage. Cost per terabyte is far lower than SSD.
- NAS (Network Attached Storage): Best for teams. Enables shared access, redundancy, and centralized backup.
- RAID arrays: Add redundancy so a single drive failure does not destroy your project.
Use SSD for active editing and HDD for archiving. That split alone can cut your hardware spend significantly without compromising performance where it counts.
The critical nuance here is bitrate. NVMe is essential for RAW and ProRes high-res editing to avoid dropped frames, but HDD is perfectly viable for compressed H.265 or AV1 footage at lower bitrates. Matching drive type to actual bitrate requirements saves money without creating bottlenecks.
"The biggest storage mistake is treating all footage the same. Active editing files and finished archives have completely different performance needs, and your hardware should reflect that."
Pro Tip: Before buying new hardware, benchmark your current drives under real project conditions. Free tools like CrystalDiskMark (Windows) or Blackmagic Disk Speed Test (Mac) take five minutes and can save you hundreds of dollars.
For practical guidance on building a setup that fits your budget, these cost-effective workflow tips and cost-saving storage strategies are worth bookmarking.
Building efficient workflows and managing costs
Hardware and codecs are the foundation. Workflow is what keeps everything from falling apart over time. Even a well-specced system will become a liability if you do not have clear processes for backup, archiving, and file organization.
Here are the core workflow steps every creator should implement:
- Ingest and organize immediately. Label footage by project, date, and camera on day one. Retroactive organization is a time sink.
- Compress on export. Do not store ProRes or RAW as your archive format. Transcode finished edits to HEVC before long-term storage.
- Automate backups. Use scheduled backup software so you never rely on remembering to copy files manually.
- Apply tiered storage. Keep active projects on SSD, recent completed work on HDD, and older archives on cold storage or cloud.
- Audit regularly. Delete duplicate renders, old proxies, and temp files on a monthly schedule.
For teams, RAID 5 or 6 for NAS shared editing balances capacity, redundancy, and performance. A four-editor 4K ProRes setup needs roughly 500 MB/s aggregate throughput over a 10GbE network connection to stay smooth.
On the recording side, two techniques can dramatically reduce your raw storage needs. VBR (variable bitrate) saves 20 to 40% over CBR (constant bitrate) by allocating more data to complex scenes and less to static ones. For surveillance or event coverage, motion-only recording can cut storage by 70 to 90% in low-activity periods.
These are not just marginal gains. On a project generating 10 TB of raw footage, VBR alone could save 2 to 4 TB of storage before you even touch a codec setting. For more actionable ideas, explore these storage management tips and cost-saving tips for video storage that cover both quality and budget.
Perspective: What most creators get wrong about video storage
Here is something worth saying plainly: buying more storage is not a strategy. It is a delay. Most creators who struggle with storage costs are not dealing with a capacity problem. They are dealing with a workflow problem, and throwing terabytes at it only postpones the reckoning.
The creators who manage storage well are not the ones with the biggest drives. They are the ones who compress intelligently, archive consistently, and automate the tedious parts. Leveraging HEVC as your default archive codec, for example, is a one-time decision that pays off on every single project going forward.
Another thing that gets underestimated: how fast high-res workflows outgrow hardware. A setup that handles 4K comfortably today will feel cramped the moment you add a second camera, start shooting 6K, or bring on a collaborator. Build with headroom, not just current needs.
The most practical advice? Test your actual bottlenecks before spending money. Run a real project through your current setup and measure where it slows down. Nine times out of ten, the fix is a smarter process, not a bigger drive.
Plan your next step with smarter storage tools
Ready to make your next storage decision easier? Whether you are planning a new project or trying to get a handle on an existing media library, having the right tools makes all the difference.
HEVCut's free video size calculator lets you estimate exactly how much space your footage will need before you start shooting or purchasing hardware. Pair that with the compression tools on HEVCut and you can reduce file sizes by up to 70% without any visible quality loss. From automated batch processing to manual control over compression settings, HEVCut is built for creators who want to spend less time managing storage and more time creating. Try it free and see the difference on your own footage.
Frequently asked questions
How much space does 1 hour of 4K footage really need?
A 1-hour 4K H.264 video at 25 Mbps uses around 11 GB, but higher bitrates or ProRes formats will push that number dramatically higher, sometimes exceeding 300 GB per hour.
What's the best codec for archiving finished projects?
HEVC (H.265) is the best balance of quality and file size for archives, reducing storage by 30 to 50% compared to H.264 at equivalent quality. ProRes is better for editing but far too large for long-term storage.
Do I need SSDs for 4K video storage, or will HDDs suffice?
NVMe is essential for high-res editing to avoid dropped frames, but HDDs work well for archiving compressed H.265 or AV1 footage where sustained read speeds are less critical.
Are cloud storage solutions a good fit for high-res video projects?
Cloud storage works well for backups and distributed teams, but the ongoing cost of storing and transferring large high-res files can make it expensive for active daily use.
How can I estimate my total storage needs for a new project?
Multiply your camera's average bitrate in Mbps by the total hours of footage, then apply the storage estimation formula or use a dedicated calculator tool for precise results.