
TL;DR:
- Compressing videos reduces upload time, storage costs, and minimizes quality loss on YouTube.
- Use optimized settings like H.264 or H.265 in MP4 with appropriate bitrate for best results.
- Choosing between 1080p and 4K depends on your workflow, audience, and upload limitations.
You just spent hours editing a stunning 4K video, and then the upload stalls at 12% for the third time. Sound familiar? Large video files are one of the biggest friction points for YouTube creators and small business owners alike. Compression is the fix, but most guides either oversimplify it or bury you in technical jargon. This guide cuts straight to what works: practical methods to shrink your video files fast, keep visual quality intact, and make every YouTube upload smoother and less stressful.
Table of Contents
- Why compress YouTube videos?
- Essential tools and settings for video compression
- Step-by-step guide: Compressing video for YouTube
- Verifying quality and troubleshooting issues
- Why one-size-fits-all compression advice doesn't work
- Easiest way to compress and upload videos faster
- Frequently asked questions
Key Takeaways
| Point | Details |
|---|---|
| Compression saves time | Smaller video files upload faster and help avoid YouTube rejections and bandwidth headaches. |
| Optimal settings matter | Following YouTube’s recommended formats and bitrates keeps video quality high after compression. |
| Test before uploading | Always check your compressed file for quality to avoid unpleasant surprises once it’s published. |
| No universal best answer | Choose your compression strategy based on your workflow, upload limits, and target audience devices. |
Why compress YouTube videos?
Every minute you spend waiting on a slow upload is time you could spend creating. But upload speed is only one reason to compress your videos before hitting publish. Storage costs, bandwidth limits, and YouTube's own re-encoding process all make pre-compression a smart habit for any serious creator.
When you upload a raw or lightly edited video, YouTube re-encodes it automatically. That process can introduce its own quality loss. If your source file is already bloated and poorly optimized, the final result on YouTube may look noticeably worse than what you see on your editing timeline. YouTube recommends specific upload encoding settings to give their system the best possible source to work with.
Here is what compression actually solves for creators:
- Faster uploads: Smaller files move through your internet connection quicker, especially on limited bandwidth plans.
- Lower storage costs: Raw 4K footage can eat through cloud storage fast. Following HEVC storage optimization practices can cut that footprint dramatically.
- Better YouTube codec triggers: Uploading in certain formats and resolutions can prompt YouTube to use VP9 encoding, which delivers sharper results for viewers.
- Fewer upload failures: Large files are more likely to time out or fail mid-upload, especially on unstable connections.
- More control: Pre-compressing lets you decide the quality tradeoff, not YouTube's algorithm.
For small businesses using video marketing for business as part of their content strategy, these savings add up fast. A 10-minute 4K video can easily exceed 20GB in raw form. Following compression best practices can bring that same file down to under 4GB with no visible difference to your audience. That is not a minor convenience. That is a workflow transformation. If you want to consistently cut video costs without sacrificing output quality, compression is the single highest-leverage habit to build.
Essential tools and settings for video compression
Choosing the right tool matters as much as knowing the right settings. The good news is that you do not need expensive software to compress effectively. Here is a quick comparison of popular options:

| Tool | Type | Best for | YouTube-ready presets |
|---|---|---|---|
| HandBrake | Desktop (free) | Batch processing, advanced control | Yes |
| Adobe Media Encoder | Desktop (paid) | Professional workflows | Yes |
| HEVCut | Online SaaS | Fast H.265 compression, storage savings | Yes |
| Clipchamp | Online (free) | Beginners, quick exports | Limited |
| FFmpeg | Desktop (free, CLI) | Automation, scripting | Yes |
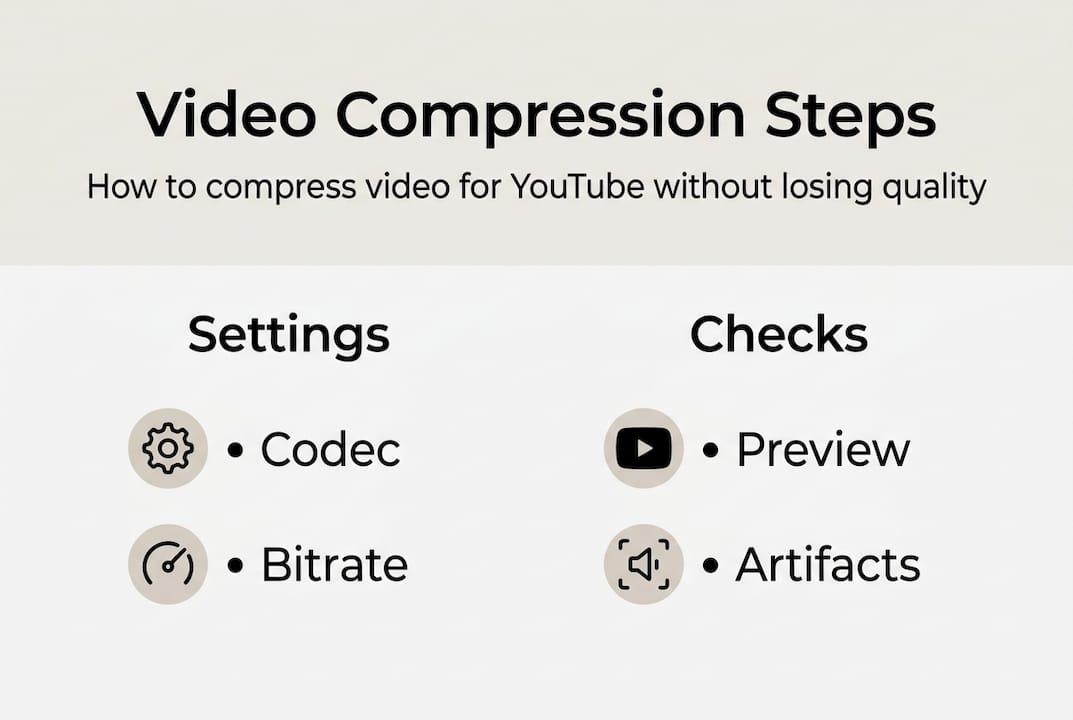
Beyond picking a tool, you need to dial in the right settings. YouTube recommends H.264/H.265 codecs, MP4 container, AAC-LC audio, and Rec.709 color space for optimal upload results. These are not suggestions. They are the baseline for getting consistent, high-quality results after YouTube's re-encoding pass.
Key settings to configure before every export:
- Codec: H.264 for broad compatibility, H.265 (HEVC) for smaller files at the same quality
- Container: MP4 is the safest and most widely supported
- Resolution: Match your original footage (1080p or 4K)
- Bitrate: 8 Mbps for 1080p at 30fps; 53 to 68 Mbps for 4K at 60fps
- Audio: AAC-LC at 384 kbps stereo
- Frame rate: Match your original; do not convert unless necessary
When evaluating online compression tools, look for batch processing, a before/after preview, and clear bitrate controls. If you shoot on a smartphone, mobile compression tips can help you optimize footage before it even hits your desktop.
Pro Tip: Always compress a copy of your file, never the original. Keep the full-quality master in a separate folder so you can re-export with different settings later if needed.
Step-by-step guide: Compressing video for YouTube
Here is the exact process to follow every time you prepare a video for YouTube upload:
- Import your source file into your compression tool of choice. Confirm the file is the final edited version, not a rough cut.
- Select MP4 as your output format. This ensures maximum compatibility with YouTube's ingest system.
- Choose your codec. H.264 is the safe default. H.265 (HEVC) cuts file size further, which is ideal for 4K content.
- Set your resolution. Match your original. Downscaling from 4K to 1080p is an option if storage is a priority, but it limits your flexibility later.
- Configure your bitrate. Recommended upload bitrates are 8 Mbps for 1080p at 30fps and 53 to 68 Mbps for 4K at 60fps. Higher bitrates give YouTube a better source to re-encode from.
- Set audio to AAC-LC at 384 kbps stereo.
- Export and review the compressed file before uploading.
Here is how optimized settings compare to unoptimized defaults:
| Setting | Default export | Optimized for YouTube |
|---|---|---|
| Codec | H.264 variable | H.264 or H.265 CBR |
| Bitrate (1080p) | 15 to 25 Mbps | 8 Mbps |
| File size (10 min) | 10 to 18 GB | 600 MB to 1.2 GB |
| Upload time (25 Mbps) | 60 to 90 min | 5 to 10 min |
| Post-YouTube quality | Variable | Consistent, predictable |
For creators managing large libraries, pairing this workflow with solid file management tips prevents version confusion and storage bloat. If you regularly shoot in 4K, learning to optimize 4K uploads will save you hours each month.
Pro Tip: Play through the compressed file at full screen before uploading. Look for blocky artifacts in fast-motion scenes and check that text overlays stay sharp. Catching issues before upload saves you from re-uploading later.
Verifying quality and troubleshooting issues
Compression is not a set-and-forget step. A quick quality check before every upload catches problems that would otherwise frustrate your viewers.
Open your compressed file in a media player and compare it side by side with the original. Pay close attention to:
- Sharpness in fine detail: Text, logos, and facial features should look crisp, not soft
- Color accuracy: Skin tones and brand colors should match the original closely
- Motion smoothness: Fast-moving scenes are where compression artifacts (blocky distortions) appear first
- HDR rendering: If your footage is HDR, confirm the highlights are not clipped or washed out
YouTube re-encodes every upload, so pre-encoded quality must be high enough to survive an additional encode pass.
Common problems and how to fix them:
- Pixelation or blockiness: Your bitrate is too low. Increase it by 20 to 30% and re-export.
- Upload rejected: Check that your file is MP4 and under YouTube's 256 GB size limit.
- Colors look washed out: Confirm your color space is set to Rec.709, not a wide-gamut profile.
- Interlacing artifacts (combing effect): Make sure progressive scan is selected, not interlaced.
- Lower-than-expected quality on YouTube: Give YouTube 24 hours to finish processing higher-quality versions. Initial uploads often show compressed previews.
For creators pushing advanced compression strategies, two-pass encoding is worth the extra export time. It analyzes the entire clip first, then allocates bitrate more intelligently across complex and simple scenes.
Why one-size-fits-all compression advice doesn't work
Most guides tell you to always upload in 4K to trigger YouTube's VP9 codec, which genuinely does produce sharper results for viewers. But that advice ignores the real constraints most creators and small business owners face every day.
Uploading in 4K means larger files, longer upload times, and higher storage costs. For a solo creator on a 25 Mbps upload connection, a 4K video that could take 90 minutes to upload might only look marginally better than a clean 1080p version. Some advocate always 4K for VP9, while others prefer efficient 1080p workflows when file size is a concern. Both camps have valid points.
The honest answer is that the right choice depends on your audience's devices, your upload bandwidth, your storage budget, and how much time you have. A business posting weekly product demos does not need the same workflow as a cinematic travel vlogger. Rigid rules create unnecessary friction. Flexible storage strategies that adapt to your actual situation will always outperform a one-size approach. Test both, measure the results, and choose what fits your workflow without burning time or money.
Easiest way to compress and upload videos faster
If the step-by-step process above feels like a lot to manage manually every time, you are not alone. Most creators want a faster path from finished edit to published video without sacrificing quality or spending hours tweaking settings.
HEVCut's video compressor uses advanced H.265 technology to reduce file sizes by up to 70%, automatically, without requiring you to configure bitrates or codecs by hand. Before you even start, use the video size calculator to estimate your compressed file size and upload time. HEVCut offers a free trial so you can see the difference before committing. It is the fastest way to go from a 20GB 4K file to a YouTube-ready upload without the guesswork.
Frequently asked questions
What is the best format for uploading to YouTube?
MP4 with H.264 or H.265 video codec and AAC-LC audio is YouTube's recommended upload format for consistent quality and fast processing.
How much does compressing reduce video file size?
Efficient compression can reduce file size by 50% or more, and HEVC (H.265) can push that closer to 70%, with minimal loss of visible quality.
Does compressing videos affect YouTube quality?
If you use recommended codecs and bitrate, compression will not noticeably harm your final YouTube quality because YouTube re-encodes every upload regardless.
What is the optimal bitrate for YouTube uploads?
YouTube recommends 8 Mbps for 1080p at 30fps and up to 68 Mbps for 4K at 60fps for standard dynamic range content.
Should I always upload in 4K for better results?
Uploading in 4K can trigger VP9 encoding for higher fidelity, but a clean 1080p upload may be the smarter choice if bandwidth and storage costs are a real constraint for your workflow.
Recommended
- Video compression best practices: optimize quality and storage
- Mobile video compression guide 2026: save 50% space easily
- Cut video costs by 70%: master compression in 2026
- How video compression cuts costs without sacrificing quality
- Complete Youtube Music Upload Workflow for Musicians | Music Video Marketplace Blog