
A single minute of uncompressed 4K video consumes roughly 12GB of storage. Yet many creators hesitate to compress their videos, fearing irreversible quality loss. The truth is that modern compression techniques can reduce file sizes by 70% or more while maintaining visual fidelity that's virtually indistinguishable from the original. This guide walks you through proven practices to balance quality, storage efficiency, and user experience.
Table of Contents
- Understanding Video Compression Types: Lossy Vs Lossless
- Choosing The Right Codec And Format For Your Videos
- Optimizing Bitrate, Frame Rate, And Encoding Techniques
- Balancing Quality, Storage, And User Experience With Modern Compression Workflows
- Discover HEVCut's Video Compression Tools To Optimize Your Content
Key takeaways
| Point | Details |
|---|---|
| Lossy vs lossless compression | Lossy reduces files dramatically for streaming; lossless preserves all data for editing and archiving. |
| Codec selection matters | H.264 offers broad compatibility, H.265 delivers better compression, and AV1 maximizes efficiency for supported platforms. |
| Bitrate and frame rate tuning | Adjusting bitrate and frame rate directly controls file size and quality; two-pass encoding improves results by 10-20%. |
| User experience impact | Optimized videos load up to 70% faster, reducing abandonment and improving engagement and SEO rankings. |
| Modern workflows enable efficiency | Multi-format delivery and advanced encoding workflows balance quality, speed, and storage without sacrificing visual appeal. |
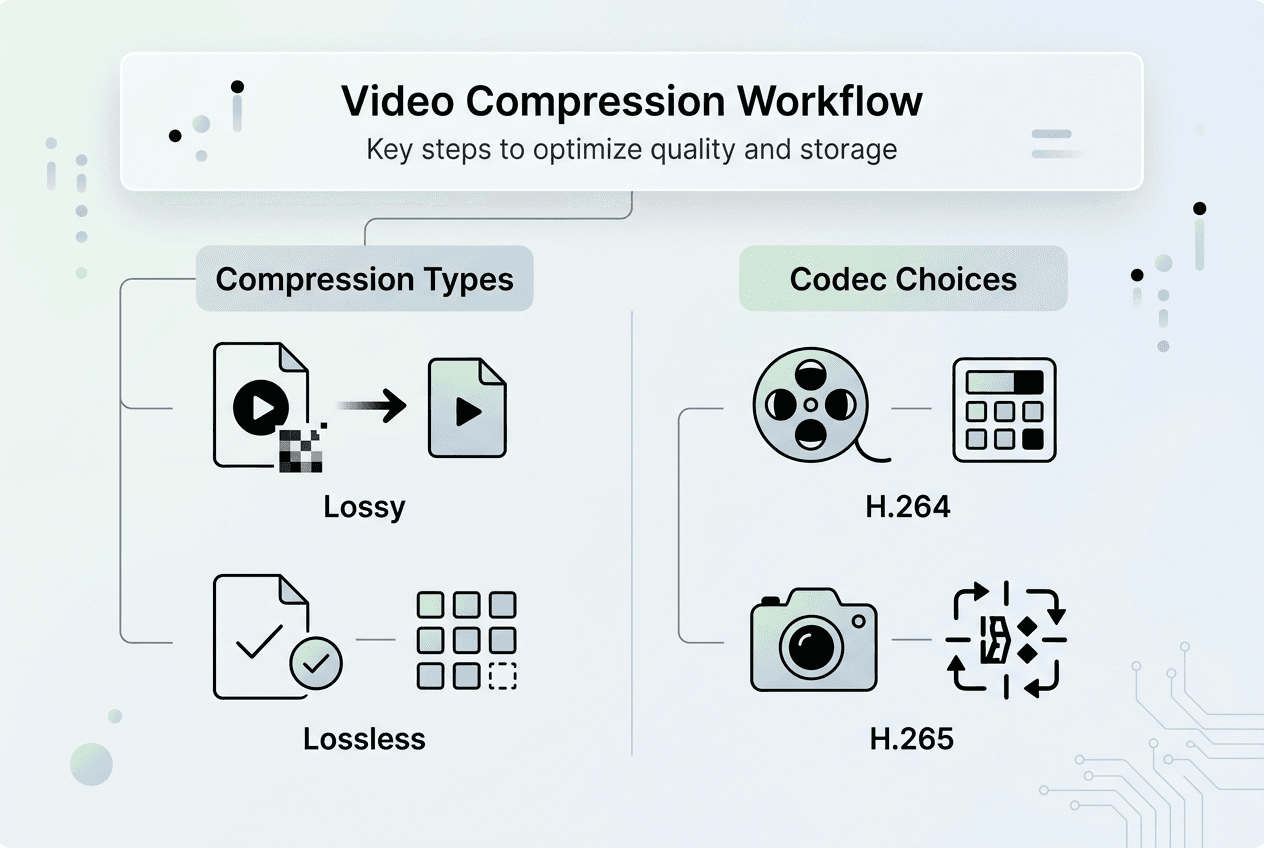
Understanding video compression types: lossy vs lossless
Lossy compression sacrifices some details for dramatic file-size reductions, making it ideal for streaming and distribution where bandwidth matters more than absolute perfection. This method discards visual data that viewers are unlikely to notice, cutting file sizes by 50% to 90% depending on your settings. It's the go-to choice for YouTube uploads, social media posts, and any scenario where fast delivery trumps pixel-perfect accuracy.
Lossless compression retains every bit of the original data, making it perfect for editing workflows or long-term archiving where you need maximum flexibility. You can decompress the video later without any quality degradation, but expect file sizes to remain much larger than lossy alternatives. Professional editors and studios often rely on lossless formats during production, then switch to lossy compression for final delivery.
Lossy compression achieves smaller file sizes by removing data deemed unnecessary, while lossless compression preserves all original data. The choice between them depends on your workflow priorities:
- Use lossy compression when distributing videos to audiences, especially on bandwidth-limited platforms or mobile devices.
- Choose lossless compression for master copies, editing projects, or archival storage where future flexibility matters.
- Consider hybrid workflows: store masters in lossless formats, then export lossy versions for distribution.
Pro Tip: Always keep a lossless or high-quality master copy before creating lossy versions. You can't reverse lossy compression, so protecting your source material gives you options for future projects.
Selecting the right compression type determines whether you prioritize immediate storage savings or long-term editing flexibility. Most creators benefit from a hybrid approach that leverages both methods strategically.
Choosing the right codec and format for your videos
H.264/AVC is ideal for general use on YouTube, social media, and mobile uploads because it strikes a balance between quality and file size while enjoying near-universal device support. Nearly every smartphone, tablet, browser, and streaming platform can decode H.264 without issue. It remains the safest choice when you need maximum compatibility and predictable playback performance.

H.265 (HEVC) offers better quality at smaller file sizes but has less universal compatibility, especially on older devices and some web browsers. You can achieve the same visual quality as H.264 while cutting file sizes by 30% to 50%, which is valuable for 4K content or HDR video. However, licensing costs and limited browser support mean you should verify your audience's playback capabilities before committing.
AV1 can achieve significant bitrate reduction compared to H.264 and HEVC, though efficiency varies by content type and encoding settings. This royalty-free codec is gaining traction among major platforms, but hardware decoding support remains inconsistent across devices. Early adopters see impressive storage savings, but encoding times are longer and software support is still maturing.
| Codec | Compatibility | Compression Efficiency | Typical Use Cases |
|---|---|---|---|
| H.264 | Excellent (universal support) | Good | YouTube, social media, mobile, general streaming |
| H.265 (HEVC) | Moderate (newer devices) | Very Good | 4K video, HDR content, advanced platforms |
| AV1 | Limited (growing support) | Excellent | Future-focused workflows, bandwidth-critical scenarios |
When selecting a codec, consider these factors:
- Device compatibility: Will your viewers' devices support hardware decoding, or will they rely on slower software playback?
- Target platform requirements: Does your destination platform prefer or mandate specific codecs?
- Quality versus file size priority: Are you optimizing for storage savings, visual fidelity, or a balance of both?
- Encoding time constraints: Can you afford longer encoding times for better compression, or do you need quick turnaround?
Pro Tip: Test your codec choice on a representative sample of your target audience's devices and platforms before committing to a full encoding pipeline. A quick validation run saves hours of re-encoding later.
For creators looking to experiment with advanced codecs, tools like HEVCut's video compressor tool simplify the process of testing different formats. When weighing options, choosing HEVC vs H.264 depends on your audience's hardware capabilities and your storage goals. For deeper technical guidance, check out this comprehensive video compression guide or explore the AV1 codec efficiency study for cutting-edge insights.
Optimizing bitrate, frame rate, and encoding techniques
Bitrate directly controls the amount of data used per second of video, making it the single most influential factor in balancing quality and file size. For 1080p videos, recommended bitrates range from 3-6 Mbps for standard content and 6-10 Mbps for high-motion scenes like sports or gaming footage. Setting bitrate too low introduces visible compression artifacts, while unnecessarily high bitrates inflate file sizes without perceptible quality gains.
Frame rate adjustments offer another powerful lever for file size control. Adjusting frame rate impacts file size; dropping from 60fps to 30fps can nearly halve the file size, though it reduces motion smoothness. Most narrative content and vlogs work perfectly at 24fps or 30fps, while fast-action videos benefit from 60fps. Choose frame rates based on content type rather than defaulting to the highest option your camera offers.
Encoding methods significantly affect compression efficiency. Two-pass encoding reduces file sizes by 10-20% compared to single-pass encoding while maintaining superior visual fidelity. The first pass analyzes the entire video to identify complex scenes that need higher bitrates, then the second pass distributes bits optimally. This approach takes longer but delivers consistently better results, especially for variable bitrate (VBR) encoding.
| Setting | Impact on File Size | Impact on Quality | Best Use |
|---|---|---|---|
| 3-6 Mbps bitrate (1080p) | Moderate size | Good for standard content | Talking heads, tutorials, interviews |
| 6-10 Mbps bitrate (1080p) | Larger size | Excellent for motion | Sports, gaming, action scenes |
| 30fps frame rate | Smaller size | Smooth for most content | General videos, vlogs, documentaries |
| 60fps frame rate | Larger size | Very smooth motion | Gaming, sports, fast action |
| Single-pass encoding | Faster encoding | Good quality | Quick turnaround projects |
| Two-pass encoding | 10-20% smaller files | Superior quality | Final deliverables, archival |
Follow these steps to optimize encoding settings for typical scenarios:
- Determine your content type: identify whether your video features fast motion, subtle details, or mostly static scenes.
- Select appropriate bitrate: start with recommended ranges for your resolution, then adjust based on visual inspection.
- Choose frame rate wisely: match frame rate to content needs rather than maxing out unnecessarily.
- Enable two-pass encoding: invest the extra time for final deliverables to maximize quality per byte.
- Test and compare: encode short clips with different settings, then review results on target devices before processing full videos.
- Monitor visual quality: watch for compression artifacts like blocking, banding, or blurriness that signal bitrate is too low.
Pro Tip: Always tailor bitrate and frame rate to content type and final platform requirements. A product demo rarely needs 60fps, while a skateboarding video suffers at 24fps. Match settings to viewer expectations and platform recommendations.
Tools like HEVCut's bitrate calculator help estimate optimal settings for your target quality level, while the video size calculator predicts final file dimensions. For comprehensive optimization strategies, explore this web video optimization guide that covers encoding workflows in detail.
Balancing quality, storage, and user experience with modern compression workflows
Fast loading times directly impact viewer retention and business outcomes. Studies show that 53% of mobile users abandon sites when videos take longer than 3 seconds to load, making optimization crucial for user retention and conversion rates. Every second of delay compounds frustration, drives viewers to competitors, and damages your brand perception. Compression isn't just a storage concern; it's a user experience imperative.
Proper web video optimization reduces loading times by up to 70%, improves user engagement, and boosts search engine rankings. Faster videos keep viewers watching longer, reduce bounce rates, and signal quality to search algorithms. These performance gains translate directly into higher conversions, better SEO positioning, and lower hosting costs. The compound effect of optimization touches every metric that matters for content success.
Modern websites implement multiple format strategies, serving different codecs based on browser capabilities to maximize video optimization across all user scenarios. A single video might exist in H.264 for older devices, H.265 for newer hardware, and WebM for Chrome users, with the server automatically selecting the best option. This adaptive approach ensures every viewer gets optimal performance regardless of their device limitations.
Achieving perceptually lossless output at minimal file size and encoding latency is possible with advanced workflows that leverage modern encoding techniques and hardware acceleration. GPU-accelerated encoding slashes processing times while maintaining quality, and intelligent presets balance settings automatically. The result is a sustainable production pipeline that doesn't sacrifice speed for quality or vice versa.
Implement these practical tips to balance quality, file size, and user experience:
- Start with target platform guidelines: YouTube, Vimeo, and social platforms publish recommended settings that optimize for their infrastructure.
- Encode adaptive bitrate versions: create multiple quality tiers so viewers on slower connections can still watch without buffering.
- Monitor actual playback metrics: track loading times, buffering events, and abandonment rates to validate your optimization choices.
- Invest in encoding infrastructure: faster encoding hardware pays for itself through reduced turnaround times and improved workflow efficiency.
- Test on real devices: emulators miss quirks that appear on actual smartphones, tablets, and smart TVs in user hands.
Compression efficiency directly determines whether viewers stay engaged or abandon your content. Every percentage point of file size reduction translates to faster delivery, lower costs, and better user satisfaction across your entire audience.
For creators managing large video libraries, HEVCut's storage savings calculator quantifies the long-term benefits of optimized compression. The browser video encoder offers a quick way to test compression settings without installing desktop software. Additional insights on optimization strategies are available in this detailed web video optimization guide.
Discover HEVCut's video compression tools to optimize your content
Applying the compression practices covered in this guide becomes straightforward when you have the right tools at your fingertips. HEVCut's platform brings advanced HEVC compression technology to content creators and businesses without requiring deep technical expertise or expensive software licenses.
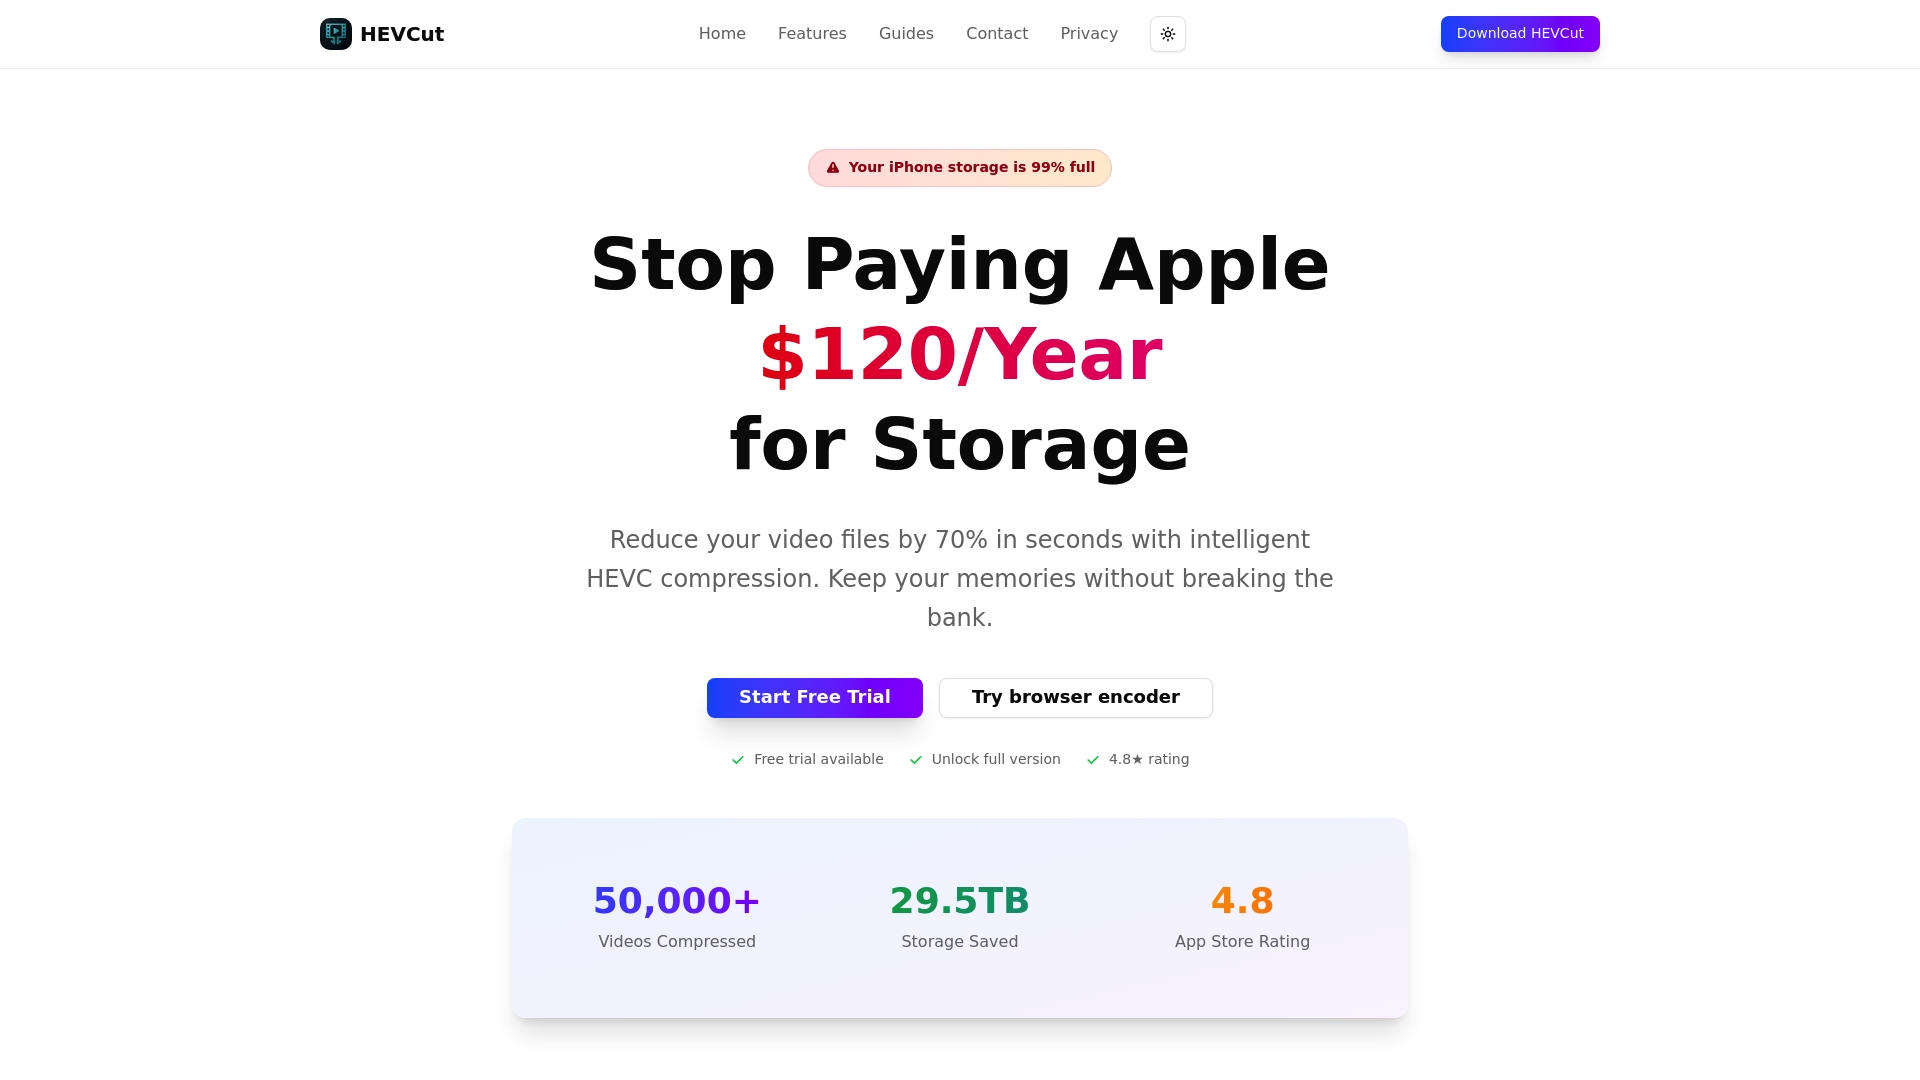
Our video compressor tool reduces file sizes by up to 70% while preserving visual quality, letting you store more content without upgrading storage plans. The bitrate calculator helps you determine optimal encoding settings before you commit processing time, while the storage savings calculator quantifies how much space you'll reclaim across your entire video library. Whether you're managing a YouTube channel, building a video course, or archiving client projects, HEVCut simplifies the technical decisions and automates the heavy lifting. Start optimizing your workflow today and experience the difference that efficient compression makes for your storage costs and viewer experience.
What is the difference between lossy and lossless video compression?
Lossy compression reduces file size by removing some visual data, which may result in minor quality loss that's often imperceptible to viewers. Lossless compression preserves all original data, resulting in larger files but perfect quality retention. Your choice depends on whether you prioritize storage efficiency or editing flexibility.
How do I choose the best codec for my video project?
H.264 offers the widest compatibility and works well for general use, while H.265 provides better compression but has less universal device support. Consider your audience's hardware capabilities and target platforms before deciding. Testing sample clips with different codecs on representative devices helps identify the optimal balance for your specific situation.
What encoding settings should I adjust to reduce video file size without hurting quality?
Lowering bitrate carefully saves space, but setting it too low introduces visible compression artifacts like blocking or banding. Reducing frame rate from 60fps to 30fps cuts file size significantly but affects motion smoothness. Using two-pass encoding improves compression efficiency by 10-20% compared to single-pass methods while maintaining visual fidelity.
How does video compression impact user experience and SEO?
Optimized videos load faster, which directly reduces user abandonment since 53% of mobile users leave sites when videos take longer than 3 seconds to load. Faster loading times boost user engagement, reduce bounce rates, and improve search engine rankings because performance is a ranking factor. Proper compression is essential for any successful video content strategy in 2026.