
High-resolution video files are brutal on storage budgets. A single day of 4K footage can easily consume 200GB or more, and costs escalate fast when you're backing up without a clear system. Most creators either overpay for cloud storage they don't fully use, rely on a single copy that could vanish overnight, or compress files so aggressively that quality suffers. This guide gives you a practical, creator-focused backup workflow that cuts costs, preserves quality, and keeps your footage safe for the long haul.
Table of Contents
- Foundations of an effective video backup workflow
- Optimizing storage: Compression, deduplication, and organization
- Choosing the right storage solution: Cloud vs local vs hybrid
- Practical workflow: Step-by-step high-res video backup
- Why most creators get video backup wrong (and how to fix it)
- Streamline your video backup and storage with HEVCut tools
- Frequently asked questions
Key Takeaways
| Point | Details |
|---|---|
| Adopt the 3-2-1 rule | Keeping multiple, redundant backups reduces your risk of data loss. |
| Compress and deduplicate | Lossless compression and removing duplicates save significant storage costs without sacrificing quality. |
| Choose storage wisely | Opt for cloud, local, or hybrid solutions based on usage patterns and access needs. |
| Follow a tested workflow | A repeatable backup process with restore checks is the safest, most cost-effective approach. |
Foundations of an effective video backup workflow
Before you spend a dollar on storage, you need a framework that actually works. The most reliable starting point is the 3-2-1 backup rule: keep three copies of every file, stored on two different types of media, with at least one copy stored offsite. It sounds simple, but most creators skip at least one of these steps and only realize it when something goes wrong.
Not all video files carry the same weight. Raw camera files are the most valuable because they can't be recreated. Edited project files come next, since they represent hours of work. Final exports matter too, but they're often the easiest to regenerate if you still have the raw footage. Knowing which files are truly irreplaceable helps you prioritize where to invest your backup budget.
Here are the most common mistakes that cost creators money and data:
- Relying on a single cloud provider without a local copy, which leaves you exposed to accidental deletions or service outages
- Never testing restores, which means a backup that looks fine on paper may be completely unusable when you actually need it
- Treating all files equally, which wastes money storing low-priority exports the same way you store irreplaceable raw footage
- Ignoring platform-specific content, like YouTube uploads that aren't stored anywhere else
For YouTube creators specifically, your uploaded videos live on Google's servers, not yours. Tools like Google Takeout or TubeFetcher let you pull down your channel's content so it fits into your standard 3-2-1 workflow alongside raw files. This is a step most creators completely overlook.
Pro Tip: Label your backup folders by file type and date, not just project name. When you're searching for a specific raw clip six months later, a clear folder structure saves hours.
Building these habits early makes every other part of your storage strategy easier. If you want a deeper look at the fundamentals, these efficient video backup tips cover the core principles in detail. And if you're not sure how to organize your video content before archiving, a structured checklist makes a real difference.
Optimizing storage: Compression, deduplication, and organization
With your framework in place, the next priority is making sure every gigabyte you store actually needs to be there. Two tools do most of the heavy lifting here: compression and deduplication.
Lossless compression reduces file size without discarding any video data. Unlike lossy compression (which permanently removes information to shrink files), lossless methods let you restore the original file exactly. For archival purposes, this distinction matters enormously. You might accept some quality loss for a social media export, but never for a master file you plan to keep for years.
Here's a practical workflow to follow before archiving:
- Compress with FFmpeg using lossless settings to reduce file size without touching quality
- Run deduplication to identify and remove identical or near-identical files, which is especially useful if you export multiple versions of the same project
- Organize into a clean folder structure before uploading to any backup destination, grouping by project, date, and file type
- Verify file integrity with checksums before and after the process to confirm nothing was corrupted
Deduplication alone can save up to 40% in multi-version editing scenarios, where you might have dozens of slightly different exports sitting in the same folder. That's storage you're paying for every month without realizing it.
A real-world example: one small production team reduced their archive from 6TB down to 3.2TB simply by applying lossless compression and cleaning up their folder structure. No quality loss. Nearly half the storage cost.
For creators working with 4K or HDR content, advanced video compression techniques like HEVC (H.265) encoding can push file sizes down even further, especially for final exports that don't need to stay lossless. Pairing smart compression with efficient storage organization means you're not just saving space, you're building a system you can actually navigate later.

Pro Tip: Run deduplication before you compress, not after. Compressing duplicate files first wastes processing time and doesn't eliminate the redundancy.
Choosing the right storage solution: Cloud vs local vs hybrid
Once your files are compressed and organized, the question becomes where to put them. Each storage type has real trade-offs that affect both your budget and your risk profile.
Cloud storage scales easily and keeps your files offsite automatically. The downside is ongoing monthly costs that compound as your archive grows. Local storage (external drives or NAS devices) gives you instant access and no recurring fees, but it's vulnerable to theft, fire, or hardware failure. Hybrid storage combines both, giving you fast local access plus offsite redundancy.
For most creators and small businesses, hybrid is the practical winner. But the specific cloud tier you choose within that hybrid setup makes a dramatic difference in cost.
| Storage option | Cost per TB/month | Best for |
|---|---|---|
| AWS S3 Standard | ~$23 | Frequent access, production files |
| Backblaze B2 | ~$6 | Active archives, regular retrieval |
| AWS S3 Glacier Deep Archive | ~$0.99 | Long-term cold storage, rare access |
| Local NAS | Upfront only | Daily working files |
The numbers tell a clear story. One production company cut monthly costs from $2,160 on AWS S3 Standard down to $580 by switching to Backblaze B2 for active archives and moving rarely accessed footage to cold storage. That's a 73% reduction without changing a single file.
For footage you access less than once a month, cold cloud storage is worth considering. The trade-off is retrieval time and fees, so it's not ideal for active projects. Here's how to decide:
- Use local NAS or fast drives for current projects and recent footage
- Use Backblaze B2 or similar for active archives you might need within days
- Use B2 vs S3 Glacier comparisons to pick cold storage for footage older than one year
For a full breakdown of what each tier actually costs at scale, the cloud storage cost guide covers 2026 pricing in detail. You'll also find practical storage cost-saving tips and storage strategy ideas tailored for creators managing large archives.
Practical workflow: Step-by-step high-res video backup
Knowing the principles is one thing. Having a repeatable process is what actually protects your files. Here's a workflow you can adapt to your setup and run consistently.
- Compress source files using FFmpeg or HEVC-based tools to reduce size before any backup step
- Deduplicate your project folder to remove redundant exports and intermediate renders
- Organize into a clean archive structure: "/Year/Project/FileType/`
- Create your primary local backup on an external drive or NAS connected to your workstation
- Create a secondary local backup on a separate drive stored in a different physical location
- Upload to cloud storage using the appropriate tier based on how often you'll need access
- Generate checksums for all archived files to verify integrity after transfer
- Schedule quarterly restore tests to confirm your backups are actually usable
For YouTube-specific assets, add a step between 3 and 4: use Google Takeout or TubeFetcher to pull down uploaded videos and metadata, then treat them like any other project folder.
| Workflow type | Setup time | Monthly cost | Redundancy level |
|---|---|---|---|
| Single cloud only | 30 min | $20-$80 | Low |
| Local only (2 drives) | 1 hour | $0 recurring | Medium |
| Hybrid (local + B2) | 2 hours | $15-$60 | High |
| Full 3-2-1 with cold cloud | 3 hours | $10-$40 | Very high |
The quarterly restore test is the step most creators skip, and it's the one that matters most. Irreplaceable high-res files demand checksums and multi-region replication to be truly safe. A backup you've never tested is a backup you can't trust. Build your storage workflow around verification, not just copying.
Why most creators get video backup wrong (and how to fix it)
Here's the uncomfortable truth: most creators treat backup as a one-time setup task, not an ongoing discipline. They pick a cloud provider, drag some files over, and assume they're protected. They're not.
The real failure point isn't storage choice. It's the absence of process. An untested backup might as well not exist. Cloud providers have outages. Accidental deletions happen more often than anyone admits. And when a drive fails or an account gets locked, the creators who survive are the ones who built redundancy into their routine, not just their setup.
Chasing the cheapest storage platform is also a trap. Saving $10 a month on storage means nothing if you lose a project worth $10,000 in client work or ad revenue. The smarter move is to invest in automation and checklists that make the right behavior nearly effortless. If you need a reason to take file size seriously before it becomes a crisis, understanding why large video files quietly drain your budget is a good place to start.
Workflow discipline beats platform optimization every time. Build the habit, then optimize the cost.
Streamline your video backup and storage with HEVCut tools
Applying this workflow is much easier when you know exactly how much storage you actually need before you commit to a plan. Guessing leads to overpaying or running out of space at the worst moment.
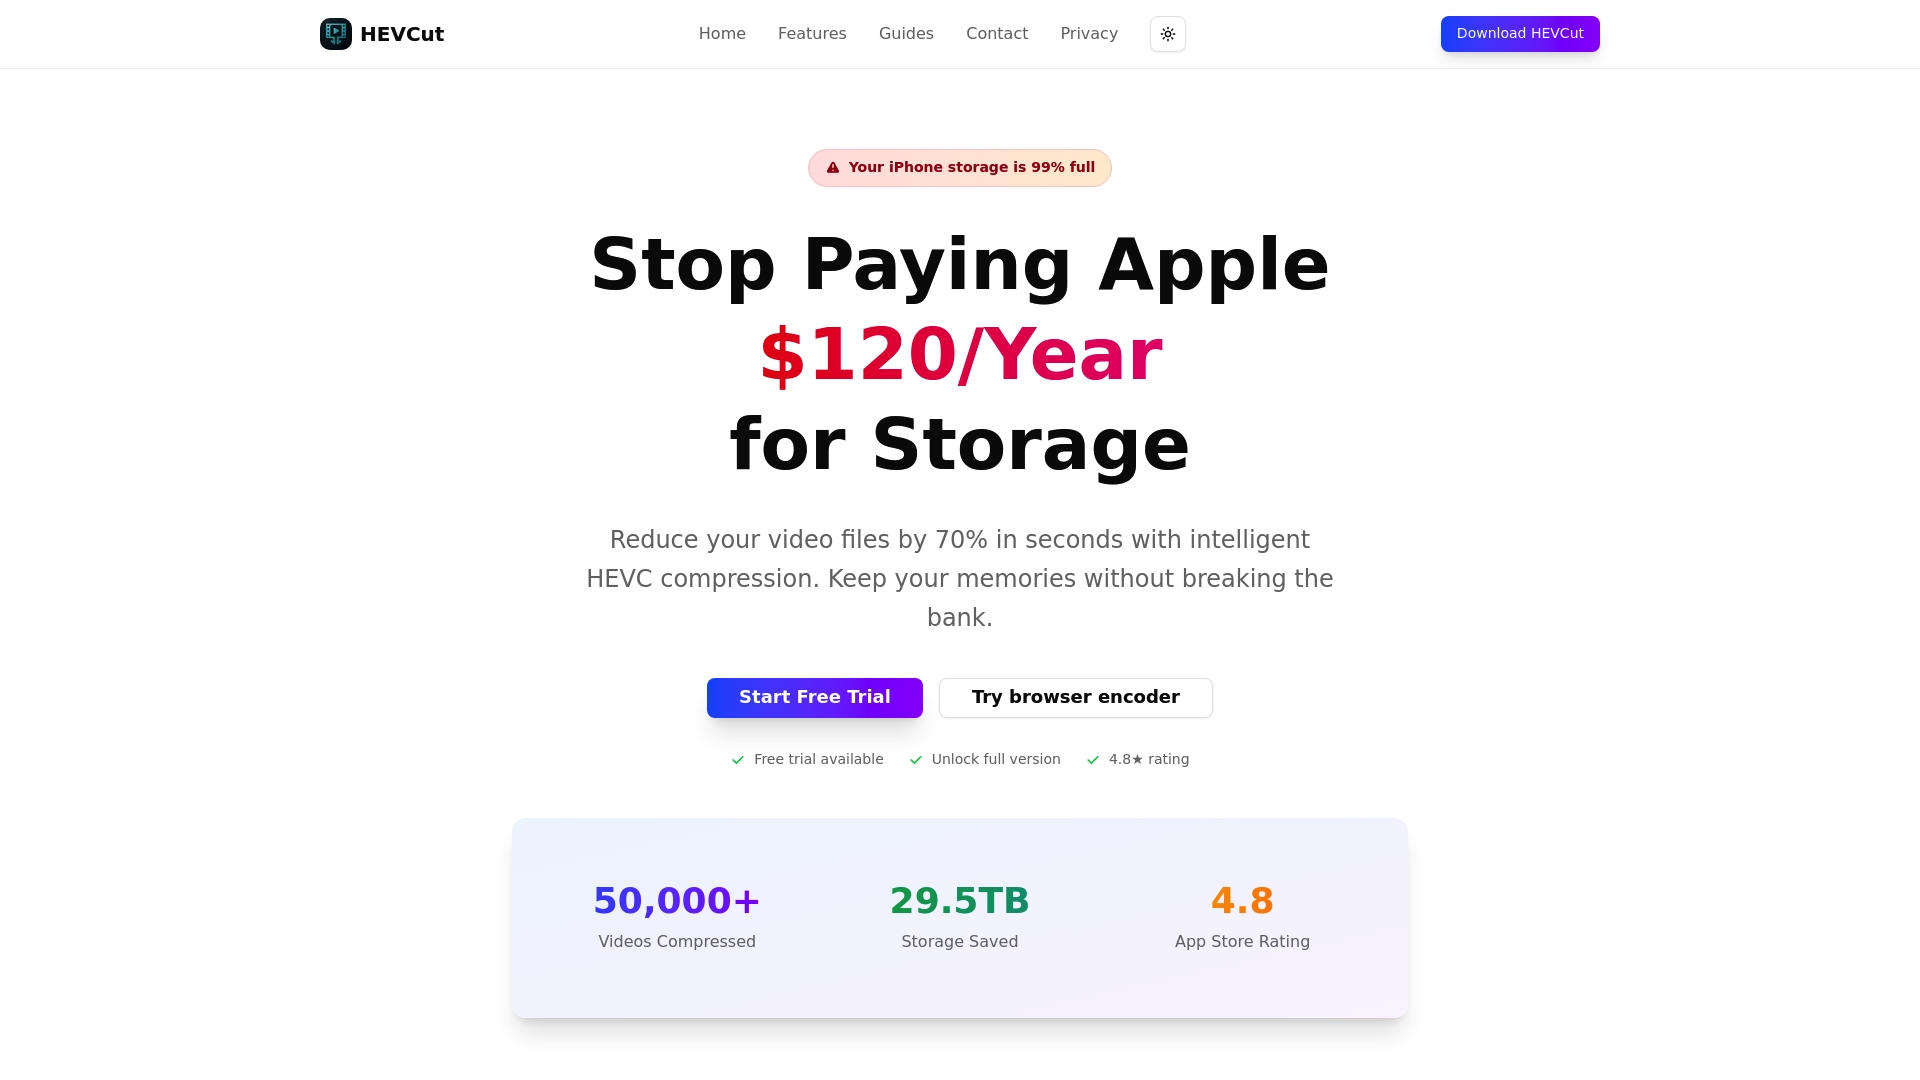
HEVCut's video workflow tools take the guesswork out of storage planning. Use the video size calculator to estimate how much space your footage will occupy after compression, and the bitrate calculator to find the right encoding settings before you archive. These tools help you plan your storage budget accurately, avoid surprise overages, and make smarter decisions about which cloud tier fits your actual usage, not just your assumptions.
Frequently asked questions
What is the safest way to back up high-resolution video for years?
Follow the 3-2-1 backup rule: keep three copies on two types of media, with at least one offsite. Pair this with checksums and restore tests every quarter to confirm your backups are actually usable.
How do cloud storage costs compare for large video archives?
Backblaze B2 costs about $6 per TB per month, while AWS Glacier Deep Archive runs as low as $0.99 per TB but charges retrieval fees that add up quickly if you access files often.
What's the best compression method to reduce video file size without quality loss?
Use lossless compression with FFmpeg combined with deduplication before archiving. This approach shrinks file sizes significantly without discarding any video data.
How often should I verify or restore my video backups?
Test restores quarterly at minimum, especially for irreplaceable footage. A backup you haven't verified recently is a risk you may not notice until it's too late.